FreeCAD Lattice 2 Tutorials List
The lattice2 workbench is one of those freeCAD addons that appears daunting to the beginner. It contains a large array of tools that require the user to perform certain selection combinations on a object or objects and what's known as single or multiple 'placement kites /planes' to produce results. To some its not obvious what the workbench purpose is.
When I first investigate a new workbench I take a step back and spend a little time researching its functionality and then find practical examples of what it can be used. From there the purpose can be interpreted. With lattice2 I first started with its intent. By visiting the authors github page and the FreeCAD wiki the key points of what the workbench is for can be found:
- Working with and manipulating placements and arrays of placements.
- An assembly workbench of kinds (don't get fixated on this statement, as you will narrow your vision).
- Deals with arrays of objects and placements.
- These arrays of placements can be generated, combined, transformed, superimposed, and populated with shapes.
This may be quite abstract but that's exactly what the workbench is. It's purpose is clearly defined but its up to the user to find the intent and that will differ from person to person, application to application.
The key is statement 'working with arrays of placements' and 'an assembly workbench of kinds'.
An assembly is multiple 'things' joined together. An array is a collection of 'things' whether it be the same or a different thing. Looking at some examples shows that we can take an object; an extrude, a sketch, a compound, a vertex, a edge etc as the subject and then create a number of placements that follows a direction or path. These placements then can replicate the chosen subject and place the copies along the path or sequence the sub objects if the subject is a compound or a collection of objects. If we can replicate an object then that object can even be a number of placements or array of placements.
So, in essence we are looking at creating repeats. With this information I spent a few hours around the outskirts of our local town on an industrial estate looking for inspiration. I was looking for items and structures that repeat, both internal and external, in open air and inside (i.e. in hardware shops). The item could be a single item say a bar on a railing or an assembly of items i.e. multiple railings in a row. I took a camera and the photo's were endless. Here are some examples:
Bars on railings Slab and brick work Pipe work Man holes Picture frame decoration Chandelier lights and arms Tree branches Windows of a building. Struts of a crane Scaffolding Leaf decorations round the base of a lamp Wicker work of a chair Cushions of a chair Legs of a table Wheels of a roller skate The list goes on! | A line of plug sockets Grate on the top of radiators Chest of drawers Rows of buildings Rows of cars Rows of lamp posts Groups of trees Rows of shelving Barrier fencing panels Banisters Buttons on a remote control Train track sleepers Teeth of a zip Keys on a keyboard |
As you can see anything that contains a repeating element or is a collection can be modelled with a helping hand from the Lattice2 workbench. Here is an index of tutorials that I have put together to get you started.
01: Polar Arrays, cogs, lattice structures, repeat patterns Beginners Guide
Unlocking the secrets of the Lattice2 workbench in FreeCAD. The tutorial starts with understanding what lattice workbench is and how to use the polar array tool to create repeating circular structures like custom cogs and gears, knurling, etc. We will understand how lattice works with placement and arrays using the tools to create circular and arc repeating structures from any workbench whether it be the part, part design, sketcher etc.Going through the basic of creating a polar array with a single object created in FreeCAD's sketcher workbench and then extrude the result in the part workbench after lattice has been applied. We learn how flexible this workbench is, allowing us to modify our sketch with ease and allowing lattice to take over the hard work saving on processor power and time when creating our models.
https://www.youtube.com/watch?v=ly3lhNZwK3o
02: Easily make text / objects follow a circle path. Beginners Guide
Part two of our guide ventures into easily manipulating text and objects into a circular arrangement allowing us to wrap it around another object or follow a circular path. We will again be using a polar array but with compounds and arrays of objects including text. We learn what an array or compound is, how to create one and how freeCAD has a number of array manipulation tools. We finish by creating a bangle with our text wrapped around it.https://www.youtube.com/watch?v=nYDx1sCylKM
03: How to easily add custom finishing / knurling | Join Array | Beginners Tutorial
We learn how to use multiple arrays to add texture, knurling and finishing to our models. We use an example of a lamp base and learn how we can distribute objects at set placements around its surfaces in the forms of spheres. We can then use boolean commands or just export it out with our object ready for 3D printing.The video also takes you through how to add objects along a b-spline and over custom placements allowing us more control.
https://www.youtube.com/watch?v=UZnlKQpV85I
04: Wrapping object around spiral / helix paths
We learn how to wrap copies of objects around a spiral path using the project array. Ideal for making models follow a helix or spiral path for spiral staircase, helix molecular structures, turbines, fans etc.https://www.youtube.com/watch?v=cjBBse52Z5s
05: - Creating a matrix lattice
Learning how to create a matrix of a single shape to allow for reduction of material when 3D printing along with a larger surface area.https://www.youtube.com/watch?v=iZL4L4yOa2E
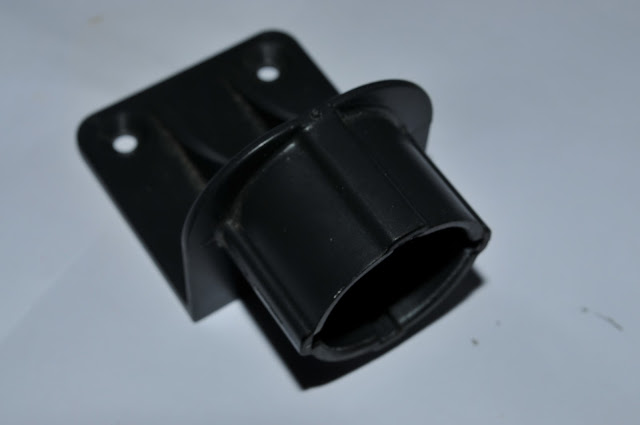
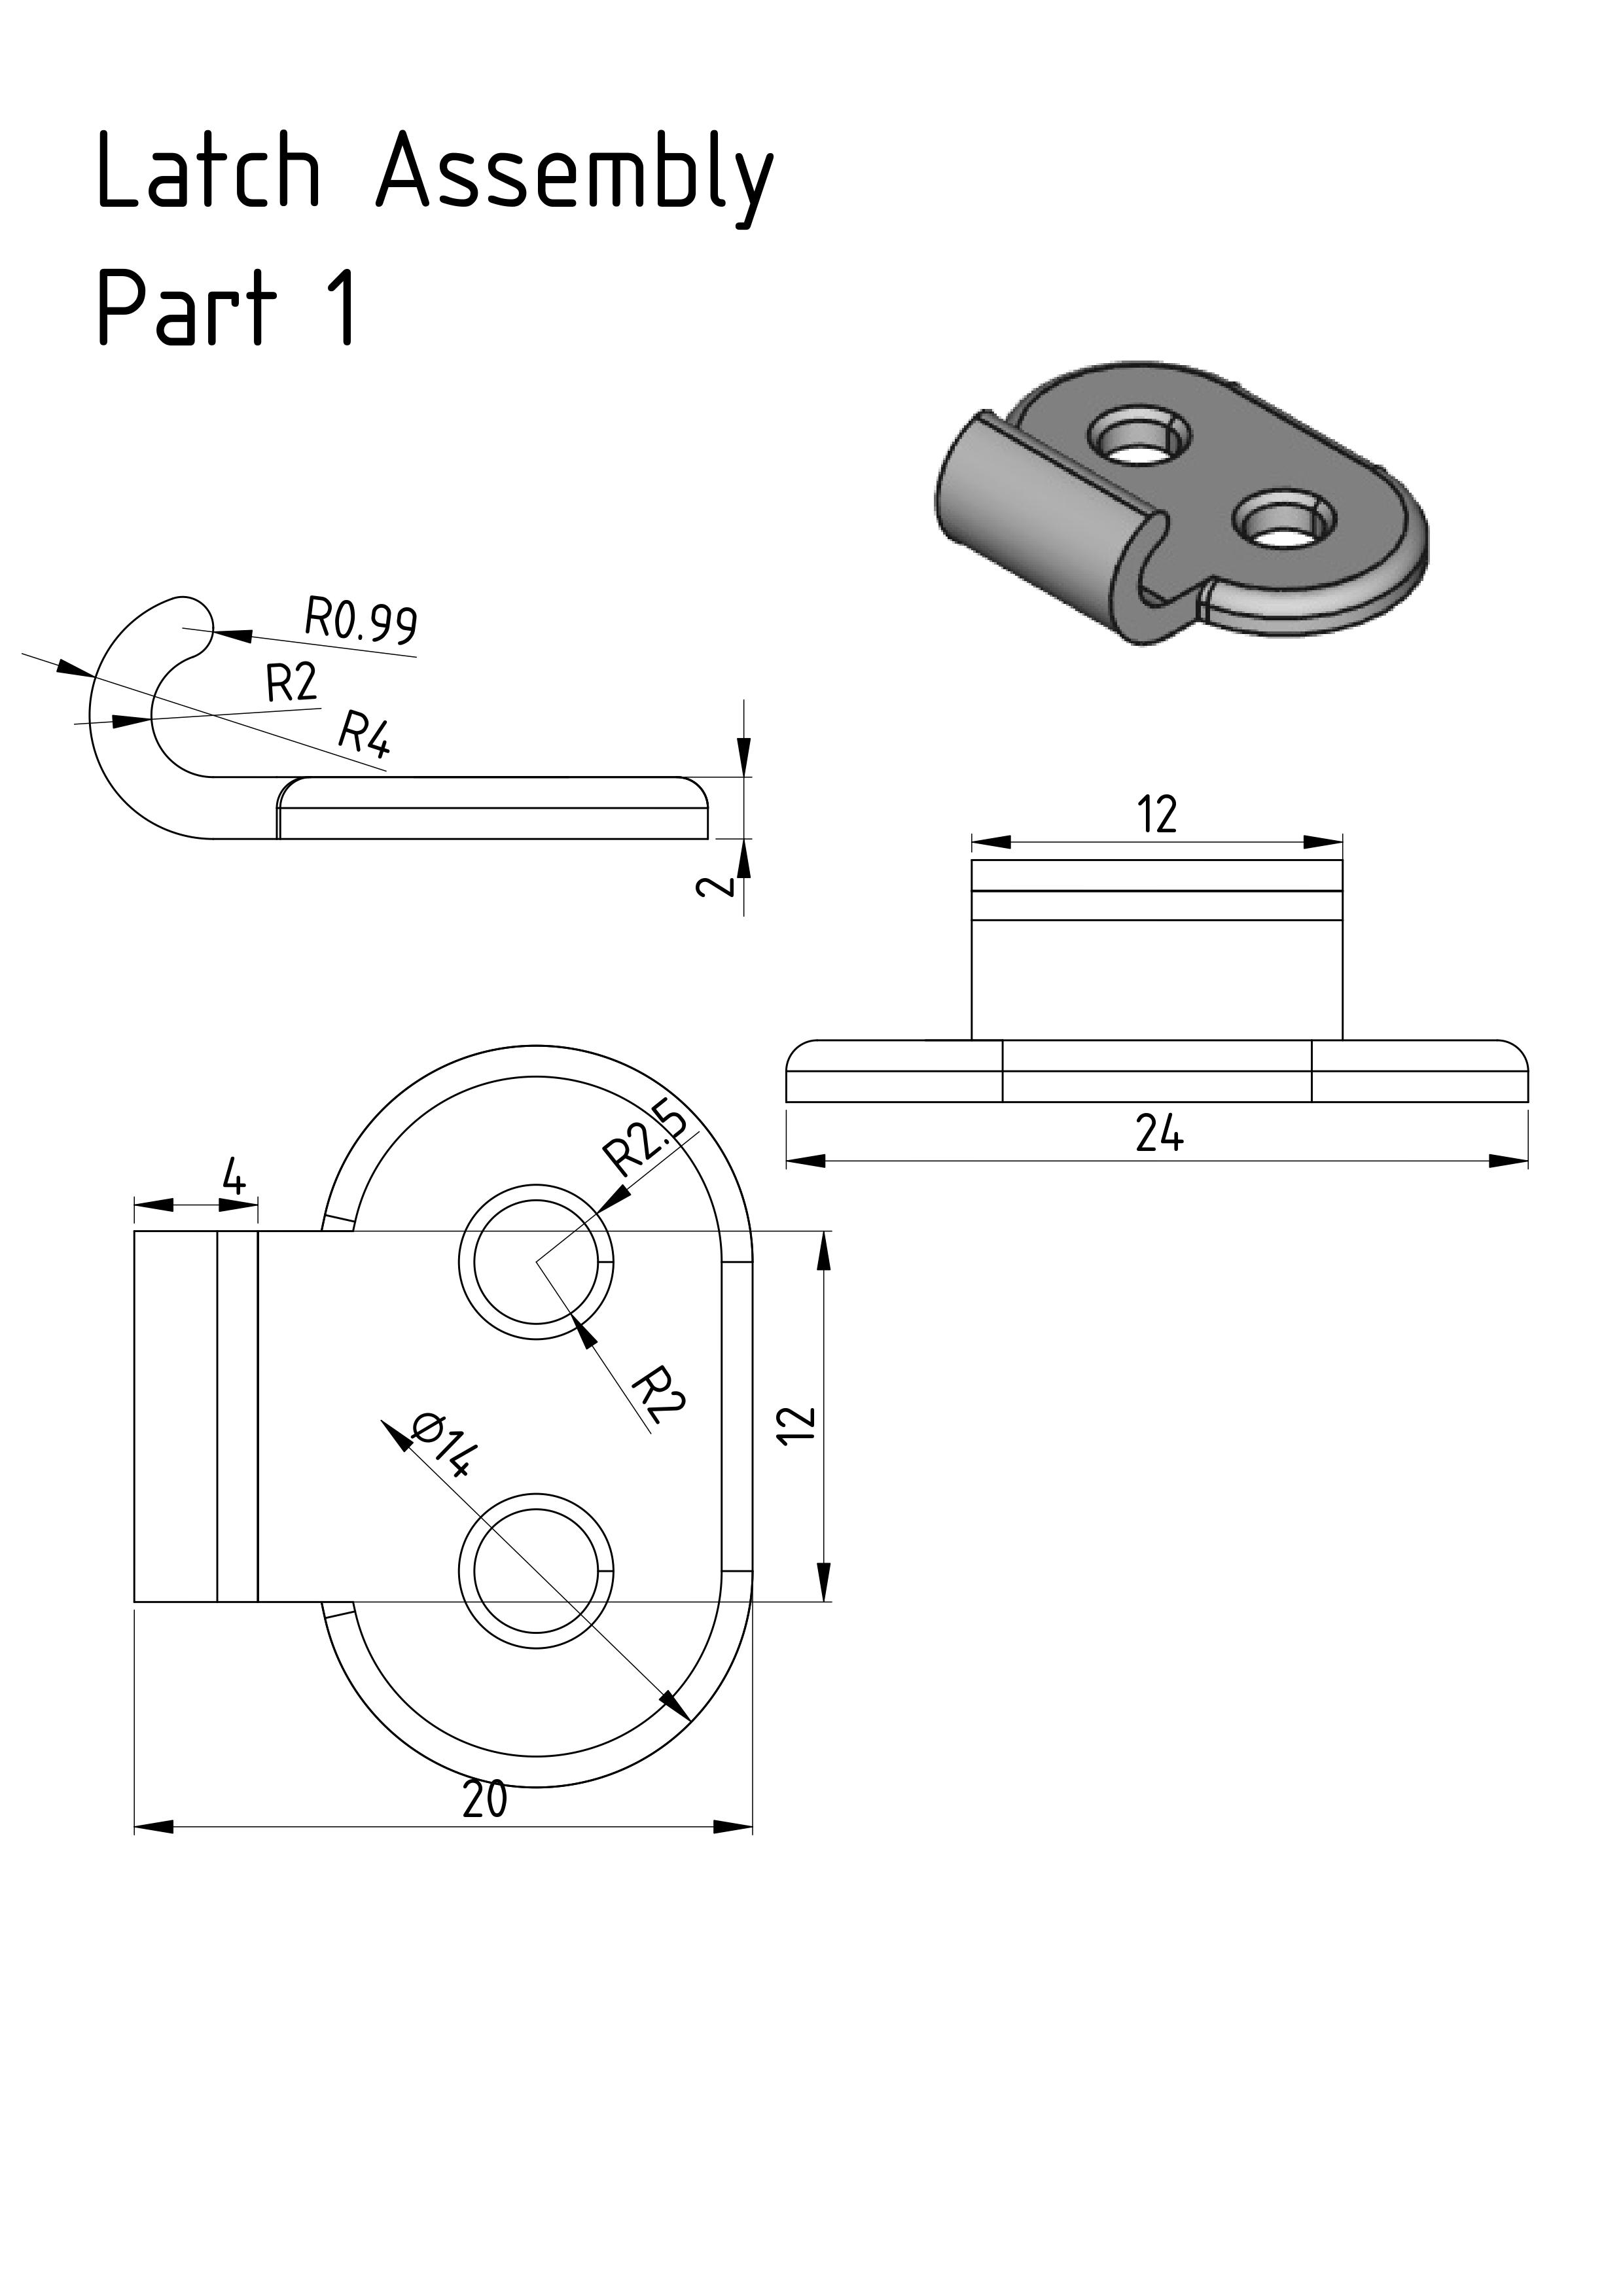
06: Easy Part Design Patterns | Repeating Lid Latches and holes
Learn how to easily repeat separate bodies as features across your design and accurately align the feature with constraints. This allows you create individual elements as features for your main part design and bring them all together as one. Using a sketch within the Sketcher workbench with simple lines as placements we can use a process that will automatically assigning each line a Part design feature whether it's a pad or pocket. Note: if you get topological problems with the second lattice feature then un-map the placement sketch from the support.
https://www.youtube.com/watch?v=aNVeBgMorj0
07: Tangent repeating features and holes at custom angles on Curved surfaces.
How to create repeating tangent holes or tangent features each set at custom angles on arc and curved surfaces.https://www.youtube.com/watch?v=ORy8ADK70BI
Dynamic Repeating Sketch Elements for custom layouts
We build sketch elements that are linked to the linear array repeating the sketch element within one single extrude. This could be a possible solution for such things as guitar frets allowing you change the length of the neck allowing the fret layout to automatically update. This technique allows you to hook up spreadsheets and formulas to control your lattice2 elements and take your ideas to the next levelhttps://www.youtube.com/watch?v=UTEhi68t-6o
Learn how to create planner knurling for a light reflector pattern using Lattice2 workbench
Want to create a repeating textured surface such as that on a tail light or reflector? In this tutorial we will learn how to repeat a raised tapered diamond pattern over a flat planner surface. In the next video we will apply this to a curved surface.https://www.youtube.com/watch?v=4C7tY1hKHdA
Learn how to create knurling on a curve for a reflector pattern using Lattice2 workbench
https://www.youtube.com/watch?v=vLGCNd42Eig
Repeat Sequence of Objects along a Path using Custom Placement
Do you want to repeat a sequence of objects along a path? we will take two object and repeat them across the path in this case we create a chain loop. We learn how to use custom placement, assign them to a path and repeat them a number of times. We then take one or more objects and learn how to repeat theses across the path with a couple of clicks of the mouse.https://www.youtube.com/watch?v=L63R58sCIHo
Modelling Parametric Multi size Toy Brick in FreeCAD Lattice WB
Part 1 of 2: Making toy bricks in FreeCAD which are fully parametric and configurable to any size and configuration 2x2, 2x3, 3x4 etc. Driven by a spreadsheet we create a toy brick from a technical drawing which allows full customisation via a spreadsheet and is lightening fast. In the first part of the tutorial we will learn how to set up the spreadsheet with reference to the technical drawing, enter formula and calculated cells and start to model in the part workbench. Part 1 :
https://www.youtube.com/watch?v=EsDnqB4SFSY
Part 2 :
https://www.youtube.com/watch?v=qnIA-Xi1Hlw
Para Series Practical Project | Parametric Text Labels for Laser Cut with LightBurn
Using the ParaSeries to create parametric labels for plant pots. Adding rows to the spreadsheet will output a new label with text and place it in the correct position with the necessary spacing. This technique can be used for any type of labelling. The labels use the ParaSeries feature to construct and place the labels the labels. Check out the previous videohttps://www.youtube.com/watch?v=mZS_e6rultg
Text around a path using Lattice2 | Follow Open or Closed Path
Follow a path with text which can be uioned or cut from another object. Place text around a spline, sketch, wire etc with the easy to follow tutorial.https://www.youtube.com/watch?v=SnRGHTlEtR8

Comments
Post a Comment